Using items
What are items?
Login credentials and other sensitive information you want to store in your password vault are saved as items. Items can be created, edited, and deleted. There are several available item types: Login (including TOTP), Password, Identity, Credit Card, and General. Each item type offers different input fields.
Creating an item
Item types
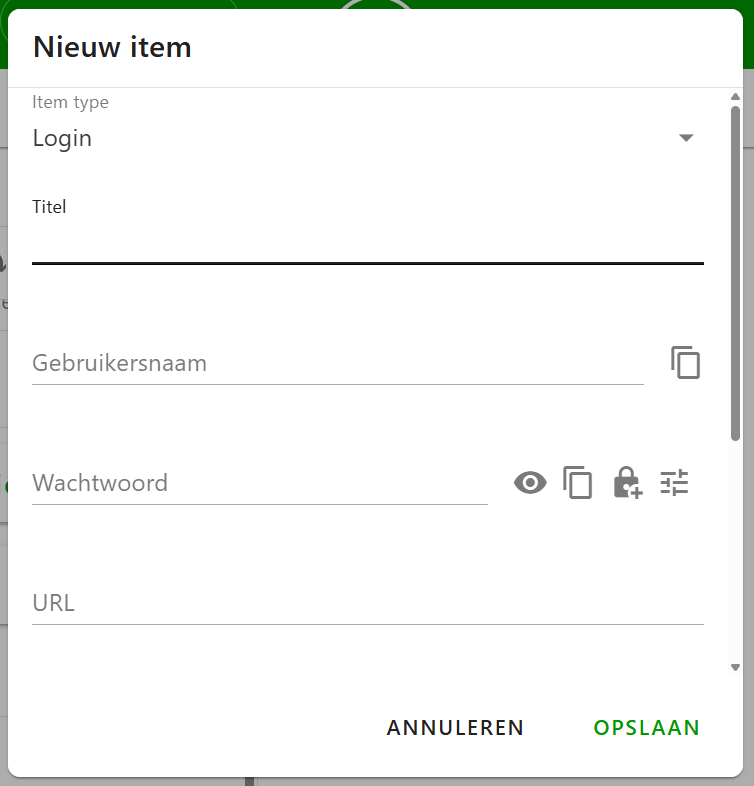
To create a new item, click the large plus button in the bottom-right corner of your item list. Two buttons will appear: one to create an item and one to create a folder. Click the first button. A window will open, allowing you to select an item type at the top. By default, Login is selected. Based on the type you choose, different input fields will be shown. For each item type, you can add URLs, notes, or tags. Some fields are required.
Available item types:
- Login: For storing login credentials
- Password: For storing a password without a username
- Identity: For storing personal identity details
- Credit Card: For storing credit card information
- General: For storing general text data securely
Generating passwords
When creating a new item, you can generate secure passwords automatically. Since the passwords are saved directly in your vault, you don’t need to memorize them. To generate a password, click the lock icon to the right of the password field. To customize the password settings, click the icon furthest to the right. You can adjust the number and variety of characters used. The more complex your password, the stronger it will be.
TOTP
In a Login item, it is possible to add a TOTP. A TOTP is a temporary password that changes every 30 seconds and is used as an extra layer of security alongside your regular password, for example when logging in with two-step verification. When you add a TOTP, you will be asked for a security key. You receive this code on the webpage where you want to create a TOTP. If you are on a page where you are creating a TOTP and there is a QR code present, you can also click the QR button next to the TOTP field in the KPN Password Manager browser extension. The security key will then be filled in automatically.
Tags
To help organize your vault and make filtering easier, you can add tags to your items. This can be done at the bottom of the item creation window or while editing an existing item. Use the search bar at the top of your item list to filter by tag. For more details, see the section on Search and Filter.
Editing an item
Select the item from the list that you want to edit. The item’s details will appear on the right side of the screen. Click the Edit button at the top to enter editing mode. You can now change any field or add fields that were previously left empty. After making changes, click Save at the bottom to store your changes, or Cancel to discard them.
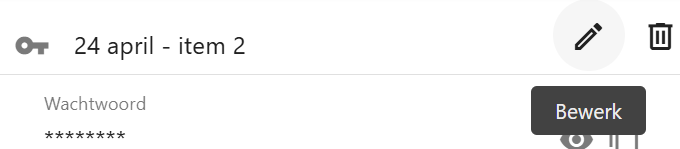
Deleting an item
To delete an item, click on it in the list to open its details on the right. Then click the trash can icon at the top. A confirmation window will appear. Once confirmed, the item will be deleted. In the web app, deleted items can be recovered from the Trash.

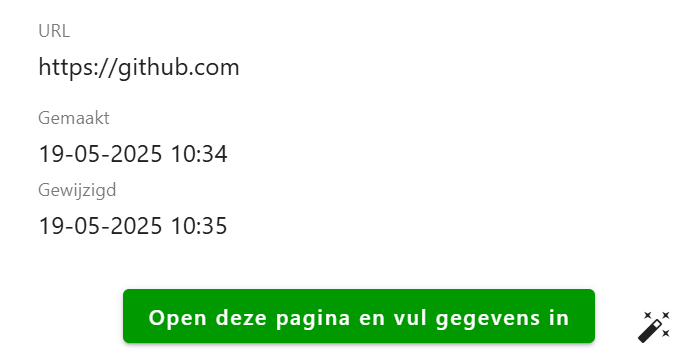
Filling items
At the bottom of your item's detail screen, there is a button labeled "Open this page and fill in details." If your item contains a URL, clicking this button will automatically fill in your details on that webpage. The wand icon allows your details to be filled in on the webpage you are currently on.